컨트롤러
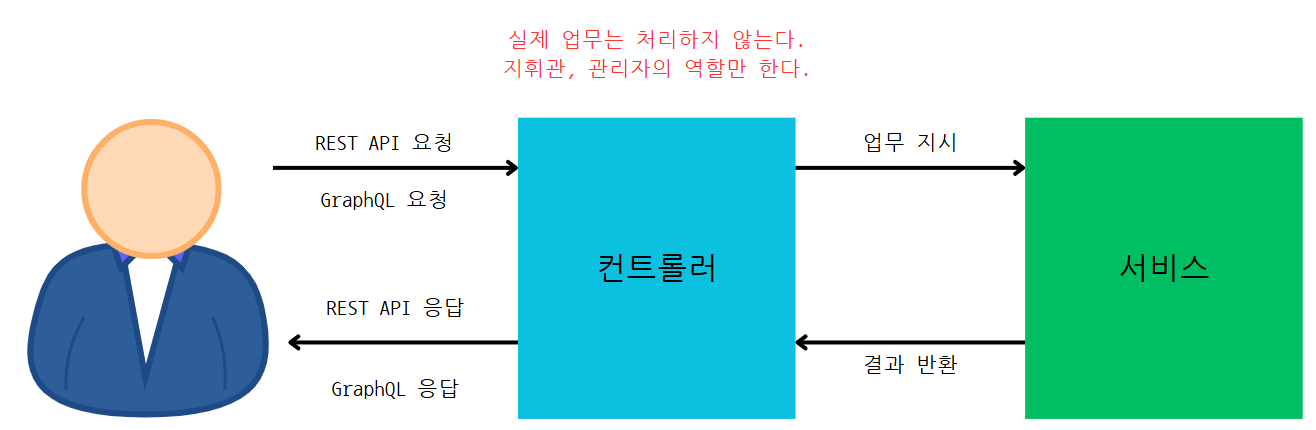
컨트롤러는 라우팅(Routing) 역할을 합니다.
라우팅이란 URL을 통한 요청이 있을 때 어떻게 처리하는지 관리하는 역할을 말합니다.
컨트롤러는 요청을 직접 처리하지 않고, 서비스에 처리를 위임합니다.
라우팅 추가
app.controller.ts 파일에 라우팅을 추가합시다.
import { Controller, Get, Param } from '@nestjs/common';
import { AppService } from './app.service';

@Controller()
export class AppController {
  constructor(private readonly appService: AppService) {}

  @Get()
  getHello(): string {
    return this.appService.getHello();
  }

  @Get('bye')
  getBye(@Param('name') name: string) {
    return '안녕히가세요';
  }
}
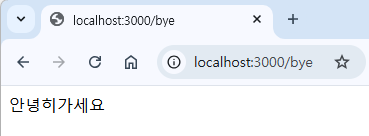
라우팅 추가 후
http://localhost:3000/bye
에 접속하면 컨트롤러에서 반환하는 값이 출력됩니다.
컨트롤러 라우팅 변경
컨트롤러 데코레이터에 문자열을 전달해 컨트롤러의 라우팅을 변경할 수 있습니다.
컨트롤러의 라우팅을 변경하면 컨트롤러 내부의 라우팅들도 모두 변경됩니다.
import { Controller, Get } from '@nestjs/common';
import { AppService } from './app.service';

@Controller('index')
export class AppController {
  constructor(private readonly appService: AppService) {}

  @Get()
  getHello(): string {
    return this.appService.getHello();
  }

  @Get('bye')
  getBye() {
    return '안녕히가세요';
  }
}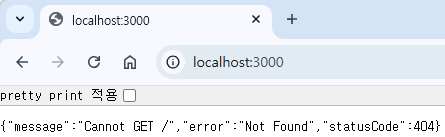

기존의 라우팅이 정상작동하지 않습니다.
컨트롤러에 전달한 문자열을 라우팅에 입력하면 정상작동합니다.
서비스
서비스는 NestJS에서만 사용하는 것이 아니라 소프트웨어 공학에서 사용되는 용어로, 주요 업무를 처리하는 객체를 의미합니다.
대부분의 업무 처리를 서비스에서 담당합니다.
컨트롤러의 코드를 서비스 파일로 옮기기
위의 코드처럼 컨트롤러에서 실제 업무를 처리하면 안되고, 서비스에 위임해야 합니다.
app.service.ts 파일을 아래처럼 수정하세요.
import { Injectable } from '@nestjs/common';

@Injectable()
export class AppService {
  getHello(): string {
    return 'Hello World!';
  }

  getBye() {
    return `안녕히가세요`;
  }
}
app.controller.ts 파일을 아래처럼 수정하세요 .
import { Controller, Get } from '@nestjs/common';
import { AppService } from './app.service';
@Controller('index')
export class AppController {
constructor(private readonly appService: AppService) {}
@Get()
getHello(): string {
return this.appService.getHello();
}
@Get('bye')
getBye() {
return this.appService.getBye();
}
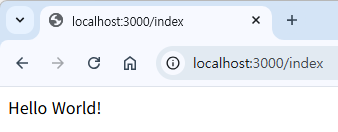
}http://localhost:3000/index
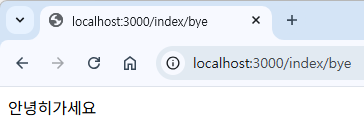
http://localhost:3000/index/bye
접속 시 동일하게 출력되면 정상적으로 수정된 겁니다.
컨트롤러와 서비스를 왜 나눌까요?
객체지향 프로그래밍의 원칙 중 하나인 단일 책임 원칙에 의해 각각의 객체는 하나의 책임만 가지도록 설계합니다.
이 원칙에 따라 코드를 작성하면 어떤 문제가 발생했을 때, 어떤 파일을 수정해야 하는지 명확해집니다.
또한 하나의 파일이 너무 거대해지는 것을 방지합니다.
라우팅 파라미터, 쿼리스트링 사용하기
라우팅에 전달되는 데이터인 파라미터와 쿼리스트링을 사용하기 위해서 @Param, @Query 데코레이터를 사용해봅시다.
app.controller.ts 파일을 아래처럼 수정하세요 .
import {
Controller,
Get,
Param, // Param import 추가
Query, // Query import 추가
} from '@nestjs/common';
import { AppService } from './app.service';
@Controller('index')
export class AppController {
constructor(private readonly appService: AppService) {}
@Get()
getHello(): string {
return this.appService.getHello();
}
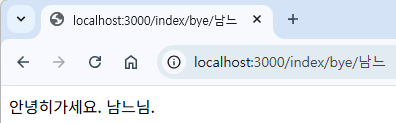
@Get('bye/:name')
getBye(@Param('name') name: string) {
return this.appService.getBye(name);
}
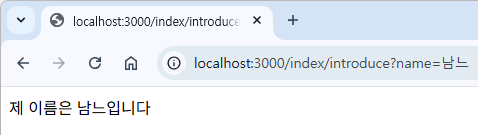
@Get('introduce')
getIntroduce(@Query() query: string) {
return this.appService.getIntroduce(query);
}
}app.service.ts 파일을 아래처럼 수정하세요.
import { Injectable } from '@nestjs/common';

@Injectable()
export class AppService {
  getHello(): string {
    return 'Hello World!';
  }

  getBye(name: string) {
    return `안녕히가세요. ${name}님.`;
  }

  getIntroduce(query) {
    return `제 이름은 ${query.name}입니다`;
  }
}
'NestJS > NestJS 게시판 API 프로젝트' 카테고리의 다른 글
| 04. DTO를 사용한 리팩토링 (0) | 2025.04.20 |
|---|---|
| 03. 게시판 모듈 작성 (0) | 2025.04.20 |
| 01. Nest CLI 및 NestJS 구조 (0) | 2025.04.14 |